On the day of your marriage, the veil holds as much importance as the gown, distinguishing you and enhancing your radiance among everyone at the ceremony. Ever wondered? It wasn't until the start of the 19th century that the custom of donning a veil gained widespread acceptance. Its popularity soared after Queen Victoria opted to wear one at her wedding in 1840. Although veils are often bought from bridal shops, making one on your own is also a viable choice. We'll walk you through crafting a personalized wedding veil equipped with a comb.
The veil is considered as the symbol of reverence for women in some religions. At first, it was to cover the face. However, nowadays a veil is a way to symbolize submission and modesty. Below, we will discuss how you can easily make the wedding veil with a comb. Keep following the article to find out what you need to do.
The History of Wedding Veil
Although the modern veil was popularized by Queen Victoria, it was a part of weddings from earlier. In fact, the veil was one of the oldest bride ensembles as per wedding historian Susan. In the ancient period, the veil was something that covered the bride from head to toe. It represented the delivery of an untouched and modest maiden. This was also for keeping her safe from any evil spirits and bad things.
Well, you might find the part of the evil spirit a bit impractical in modern society. Now let us tell you the practical reason. That is to hide the bride from the groom. Here are we are talking about the modernized veil that started with Queen Victoria during her wedding. Nowadays it becomes a crucial part of every wedding. However, to hide the face or not, it’s more like a personal choice of the bride.
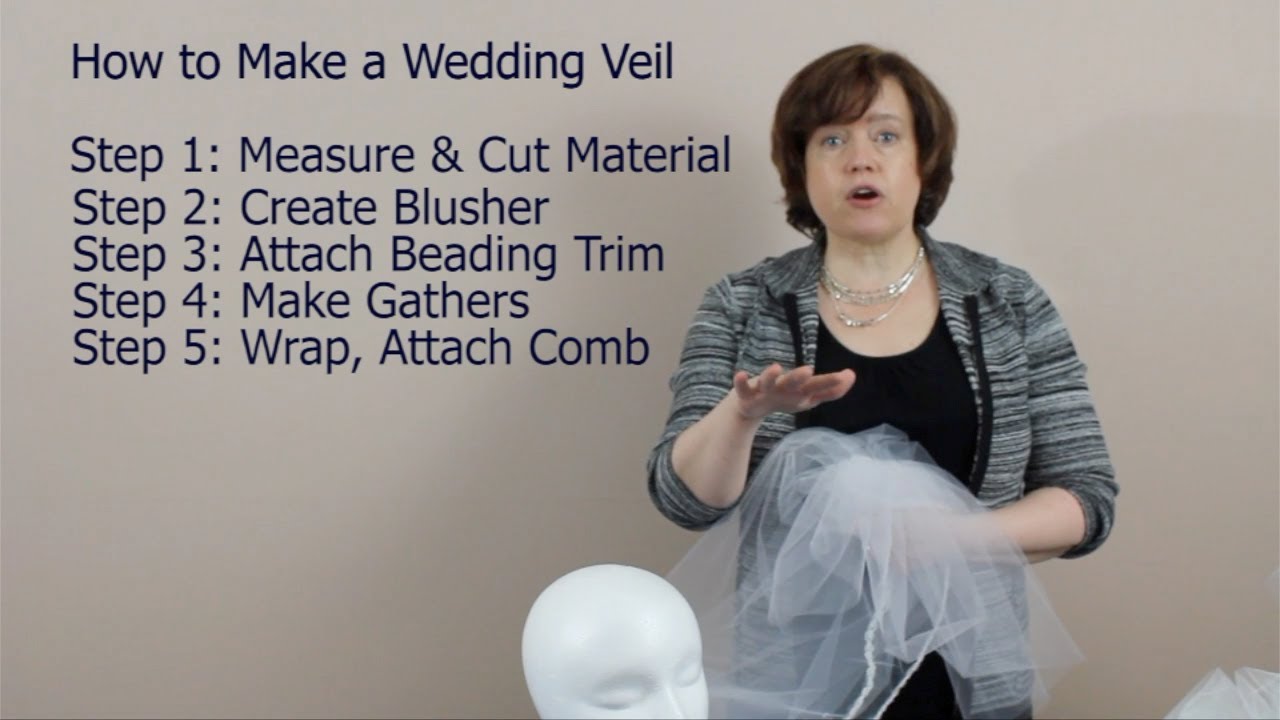
How to Make a Wedding Veil with Comb?
The wedding veil is available ready and most of the time, the ready-made veil is used during the wedding. However, if you want to be a little creative with the veil, you can actually make one for yourself. This will not only save bucks but also allow you to show creativity to all the people out there.
You should go for a veil that will match well with your preferred hairstyle. As your hair will support the veil, you need to plan for it by considering the aspects. So, your target is to make the wedding veil perfect by combining it with your hairstyle.
Moreover, the veil also needs to match your dress. It shouldn’t demolish the details and integrity of the dress. Usually, you will require picking the veil simpler than the dress to make the dress look cooler. Another thing you need to be aware of is the material of the veil. They are available in different fabrics although tulle is mostly used.
Choose the Style
The good news is there are different styles of the veil and you can pick one based on your preference. You can go for the chapel, which is a classic choice and it goes well with almost all the common dresses. Typically, the length of this veil is around 90 inches and it looks prettier with some specific hairstyles. If you want something bigger, go for the cathedral veil which is around 120 inches. It is perfect for the ball and low bun wedding gowns.
If you want to cover the face with the veil, you can consider the blusher style. The blusher is short compared to the other variation and it is typically around 30 inches. It works well with the A-line dress and backless. Another veil that goes well with the A-line dress is the fingertip veil, which is around 45 inches. It is also perfect for the ball gown and the half-down or half-up hairstyle.
Purchase the Materials
Decide which fabric you want to pick for the veil. You have options like tulle, organza, Russian net, lace, etc. As we said earlier, tulle is very popular and common amongst them. It is also often used for wedding dresses. The fabric is very versatile and comes with great structure and drape. There can be different variations of tulles such as natural cotton, synthetic nylon, and some other. You need to pick the right fabric based on your preference.
Along with the fabric, you also need to make sure that you have other supplies. These include the hair comb or clip, needle, thread, scissor, beads, trim, etc.
Measure and Cut the Fabric
Position the fabric on a flat surface and secure it with something like a pin or tape. Then find the right or suitable size for the fabric and draw a rectangle on it by following the size. You can also decide the size based on your preference. However, decisions about the size before making the cutting. If you cut the fabric shorter, you might regret it later. Make sure to do the cutting with a sharp scissor. Complete the required sewing once done with cutting.
Add Embellishments
Once you are done with the cutting, now it is time to add embellishment to the fabric. There are a lot of options for you. Such as, you can add beads, mirrors, flowers, crystals, petals, etc. You can easily add them with a needle and thread. Make sure that you have a plan on how you want the embellishment before you begin working on it.
Add the Comb
In the very last step, we will add the comb to the veil. Make sure that you are using a comb that matches the color. The comb should be upside down while connecting it with the veil so that the teeth should be facing the forehead. You can either use glue or sews the comb with the veil. In case you are doing the superglue, make sure that you are doing it before the wedding and giving enough time to dry.
That’s it; you are done. Now you can try on the veil. If you want to customize something, you should do it until you find perfection.
Conclusion
Instead of purchasing the ready-made veil, making on DIY will be a great experience. We hope you will be able to easily make a wedding veil with a comb following the article.