Every woman fantasizes about finding her ideal wedding gown, aiming for absolute flawlessness in every detail. However, they often face an issue because designer wedding dresses are primarily available in conventional sizes. Plus, to cater to a wider range of body shapes, designers intentionally make these gowns longer than the standard length. If you've picked out a wedding dress that's too long for you, mastering the technique of hemming a bridal gown with a train becomes crucial.
Usually, hemming a wedding dress is one of the most common alteration works. In fact, most wedding dresses require this alteration to suit the bride. If your wedding dress arrives with a train, you need to be careful while hemming. That is because you don’t want to lose an important detail like a train. Following the below steps, you can hem the wedding dress without losing the train.
Steps to Follow to Hem a Wedding Dress with Train
The procedure of hemming a wedding dress with a train will vary on several things like the style of dress, fabric variation, etc. The below-mentioned steps will work for most variations of the dress. Check out the steps of shortening the train of wedding dress to make it a perfect fit.
Before you begin, make sure that you have all the required supplies for the work. You will require scissors or rotary blades, matching thread, marking pen or pencil, measuring gauge, etc. You will also require a helper. Now follow the below steps.
Step 1
The first thing you need to do is to try out the dress. This will help you to decide the amount of work that needs to be done. That is because this is the best way to decide how long of the train you should keep and how long to cut. Note that you should wear everything that you will wear on the wedding day including the bra and the shoes. This will help you to find accurate measurements.
Step 2
The next thing you need to do is to decide how long of the train you should keep. The wedding dress expert suggests cutting the dress where it touches the floor. However, you can always keep more or less train based on your preference. After deciding about the train, now ask a helper to put the pin on where you want to cut. Make sure to pin down the entire area that needs to be removed.
Step 3
Once the pinning process is done, you will require removing the dress. Make sure to do this carefully as you can get pinched by the pins. Now you need to do some measurements. Put the place on the tailoring table or any other flat surface. Make use of the tailor gauge to measure the excess area that you need to cut. If it is smaller or equal to two inches, you shouldn’t cut it as it will not cause any issue.
Step 4
If the excess area is more than three inches, you will require to hem this. Now you will need to mark the area that needs to be cut on the wrong side. Based on the variation of the dress, you can use a tailor pencil, pen, or chalk to put the mark. Make sure to follow the pin as a guideline to do this and try to be as accurate as possible.
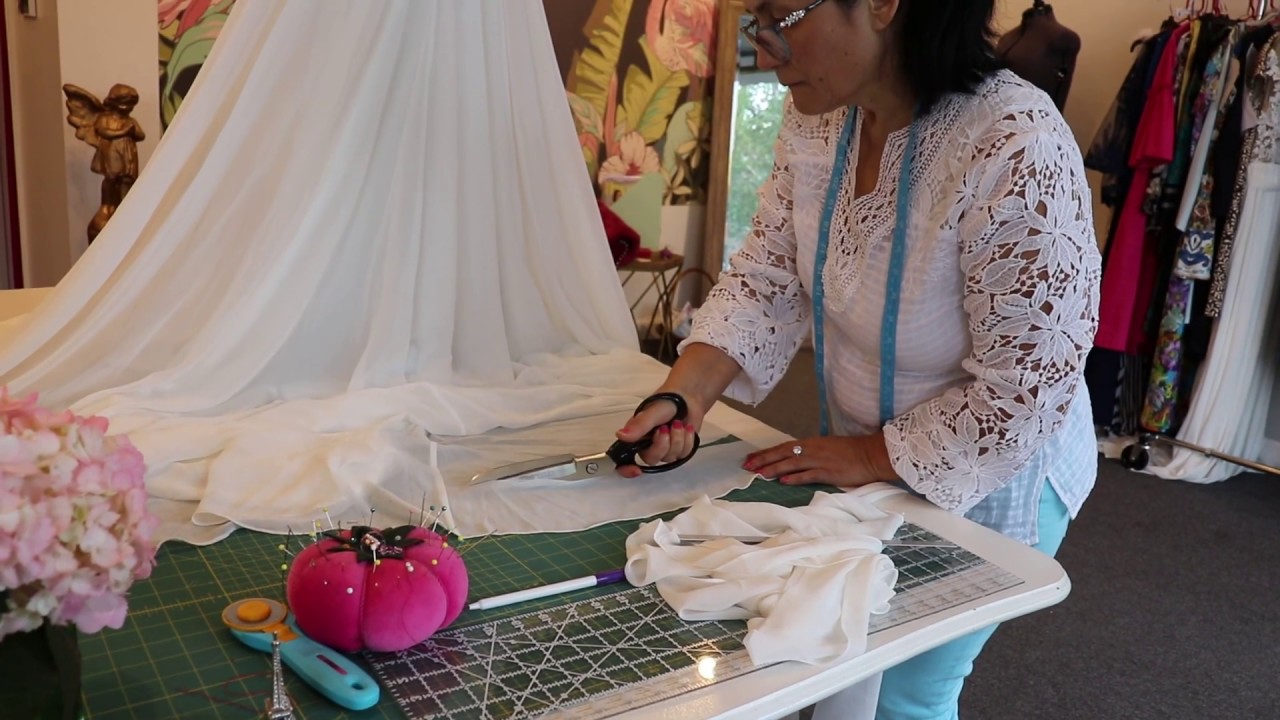
Step 5
Now it is time to cut. You use a sharp scissor or the rotary blade for doing this. However, the rotary blade will be the best choice as it assures accurate cut. If you don’t have this, proceed with the scissor carefully. You can consider putting a cutting mat below to prevent any miscut. Make sure to use the rotary blade with proper care, as you can end up cutting your skin or spoiling the dress. Also, close it immediately when done.
Step 6
The next thing you need to do is to serge the hem. Equip the serger with proper thread that goes with the fabric and color of the dress. Sometimes, the dress ship provides complimentary thread. If so, make sure to use that thread. Before you begin the serge, make sure to try the stitch in a scrap of the train. This will give you an idea bout what you are getting.
There are usually several variations of stitch options available in the serger. Make sure you are considering the dress fabric, dress style, and other factors selecting the stitch. You can check multiple stitching varieties to find out the right variation.
FAQs
How long does hemming a wedding dress take?
Wedding the hem of the dress by a professional fitter or seamstress can take around weeks or more. This will vary on several factors such as the wedding season, dress type, fabric, workload of the seamstress, etc. Obviously, the time will be more if there is additional alteration work.
How much does it cost to hem a wedding dress?
This will also vary based on the style of the cost and the experience of the seamstress. The popular seamstress or the bridal salons will ask you for more amount while the local one can make it done at lower. Sometimes, it may require more time than usual. On average, you need to be ready to pay an amount of around $120 to $200.
How much does the total alteration will cost?
This will vary depending on the requirement of the bride and amount of the work that needs to be done. If there is less work, you can make it done at around $300. Based on the complexity of the works and the dress style, it can be $600 or more.
Conclusion
The train is one of the attractive details of the wedding dress. However, when the train is bigger it might not look perfect on you. Moreover, you can trip on it while walking or dancing which will be the last thing you want during the ceremony. So, make sure to hem the train properly following the above steps.