Once you've purchased your wedding dress, the next step often involves making necessary modifications. It's typically the case that these dresses don't fit perfectly right away, requiring significant alterations. Proper adjustments will make sure the dress perfectly accentuates your body shape. The extent of these alterations can differ greatly. Below, we delve into the process of adjusting the bust area of a wedding dress.
Altering the bust of the wedding dress can be tricky. Usually, you should take help from an experienced seamstress for this. In the below part of the article, we will discuss details of how the alteration of wedding dress bust work.
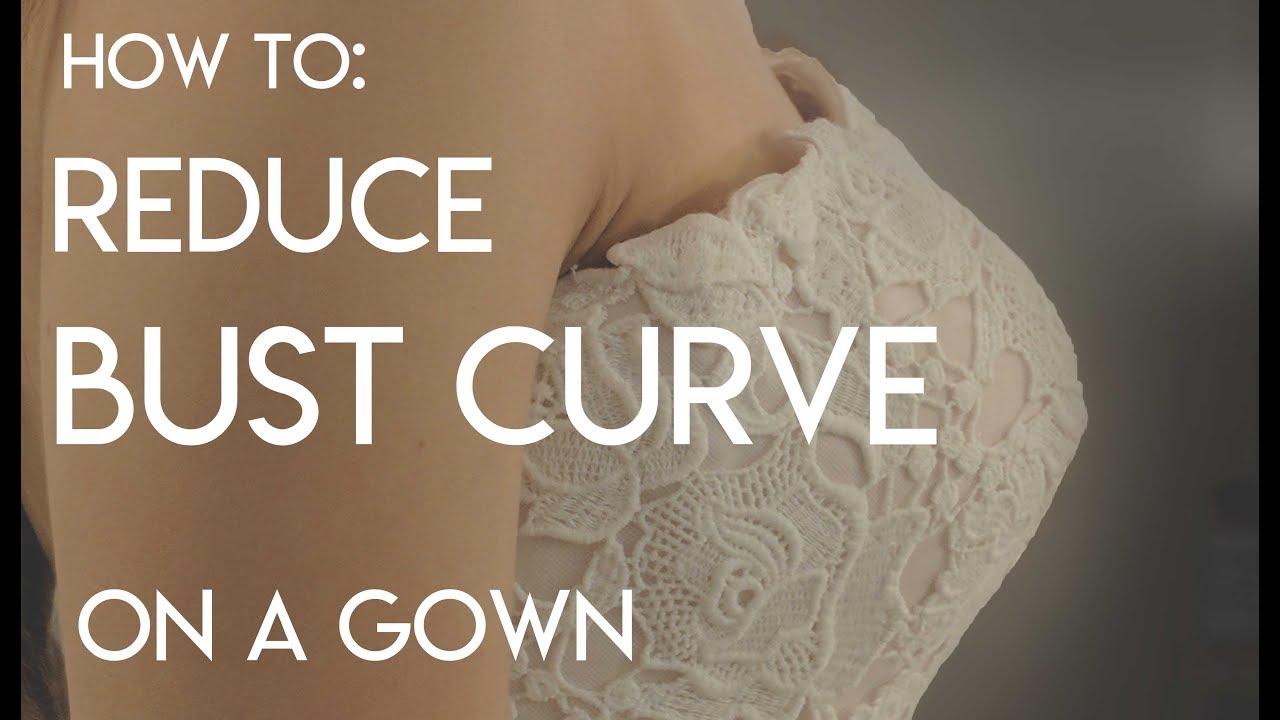
How to Alter a Wedding Dress Bust
One of the unique facts about women's bodies is they are open to another. Every woman is blessed with different curves, dimensions, and everything. Altering the bust of the wedding dress consists of several steps. Because of such uniqueness, the standard size of the dress usually doesn’t fit. That is why it is important to do the alteration to make the dress perfectly fit.
We will discuss the steps in detail below.
Before You Begin
It doesn’t matter which types of adjustment you are doing it will begin with taking the measurement. One of the important measurements of the bust is the side seams. This means taking equal measurements from both sides of the seam. The perfect outcome from this alteration mostly depends on the accuracy of the measurement. So, you need to make sure that the measuring is done very perfectly.
Once you are done measuring the beast, you need to decide whether the beam needs to be taken in or taken out. Here, taking in means making the bust smaller while taking out of the bust means making the bust bigger. Below, you will find adequate information about both variations of alteration.
How to Alter a Wedding Dress Bust with Gusset
It can be a nightmare to find your wedding dress tight in the bust. However, the good news is you can easily take out the dress following the below method. You will require hemming tape, gusset fabric, sewing supplies, hook, and loop, etc. Now let see what you need to do:
Step 1
Begin with unlacing or unzipping the wedding dress so that it fits comfortably. It should not be tight at this point while also being snug. Once you are done with that, you need to remove the dress. Then put it on a neat and clean work surface.
Step 2
Now make use of the measuring tape to measure the widest part of the opening. You need to also measure the opening height. After measuring, write it down somewhere after adding two inches with the first measurement and one inch to the second.
Step 3
Now prepare the gusset fabric by cutting it following the measurement you have written in the above steps. Make use of the hemming tape throughout the edge to produce a finished seam. Afterward, cut the two strips of the adhesive tape following the same measurement we have done earlier.
Step 4
Now position one of these strips of adhesive tape on the outer edge of the gusset fabric. Make sure to remove the backing of the tape before doing it. Once you have done this on one side, do the same for the opposite side. Now what you need to do is to position the gusset fabric at the place of lace or zip (opening of the dress). This should cover the dress opening perfectly.
Step 5
Now what you need to do is to pin the bottom and top of the strip for connecting it to the dress. After that separate the strips by unzipping the dress. Make sure that you are removing the pin from the strips but leaving the pin on the dress fabric. Now secure the adhesive strip by removing the adhesive part using pins on the inside of the dress.
Then zip the dress after attaching one side of the gusset and do the same to the other side after zipping it.
How to Take in a Wedding Dress Bust
Taking the wedding dress bust or making it smaller is typically easier compared to taking out or making it small. What you need to do is to take in an equal amount of dress from both sides. For this, you will require the measurement. While taking the measurement, make sure you take them separately for the left and right sizes. Also, write them down on paper separately.
Step 1
Begin with taking the measurement of the upper bust. Then take the measurement of the lower bust. As we said prior, make sure to write them down on paper so you don’t mess them up later. Now pin the measured area that you will require cutting to make the bust fit. Then remove the fitting of the dress by pulling out the thread with a seam ripper. If there are ribbons in the dress, make sure to put them in the correct order.
Step 2
Now you will be starting the taking in according to the initial mark while taking in. The next thing you need to do is to sew according to the new measurement. Then take off the pin and marker spots. After that, you should end up with matched seam lines. The next thing you need to do is to close the seam. Give a check when you are done.
How Much It Cost to Alter the Wedding Dress Bust?
If you are not a professional and experienced seamstress, you should never even think of taking out the bust. That is because you might end up spoiling your beautiful wedding dress. It is better to leave it to talented professionals. For doing the bust without any other adjustment, it might require $50 t $100 or a bit more. If you require other adjustments, then it will cost much.
Conclusion
Wedding dress bust alteration is important as it is about your look and confidence on the wedding day. We hope this article will help you to understand about taking in and out of the wedding dress bust.